Creating a WordPress website with Elementor in 2025 will likely be a similar process to how it is now, with potential interface tweaks and new features in both WordPress and Elementor. Here’s a comprehensive step-by-step tutorial:
Phase 1: Setting Up Your WordPress Environment
- Choose a Domain Name: This is your website’s address (e.g.,
yourwebsite.com). Select a name that is relevant to your brand and easy to remember. - Choose a Web Hosting Provider: You’ll need a hosting service to store your website files and make it accessible online. Popular providers include Bluehost, SiteGround, HostGator, WP Engine, and local Bangladeshi providers. Consider factors like speed, reliability, customer support, and pricing.
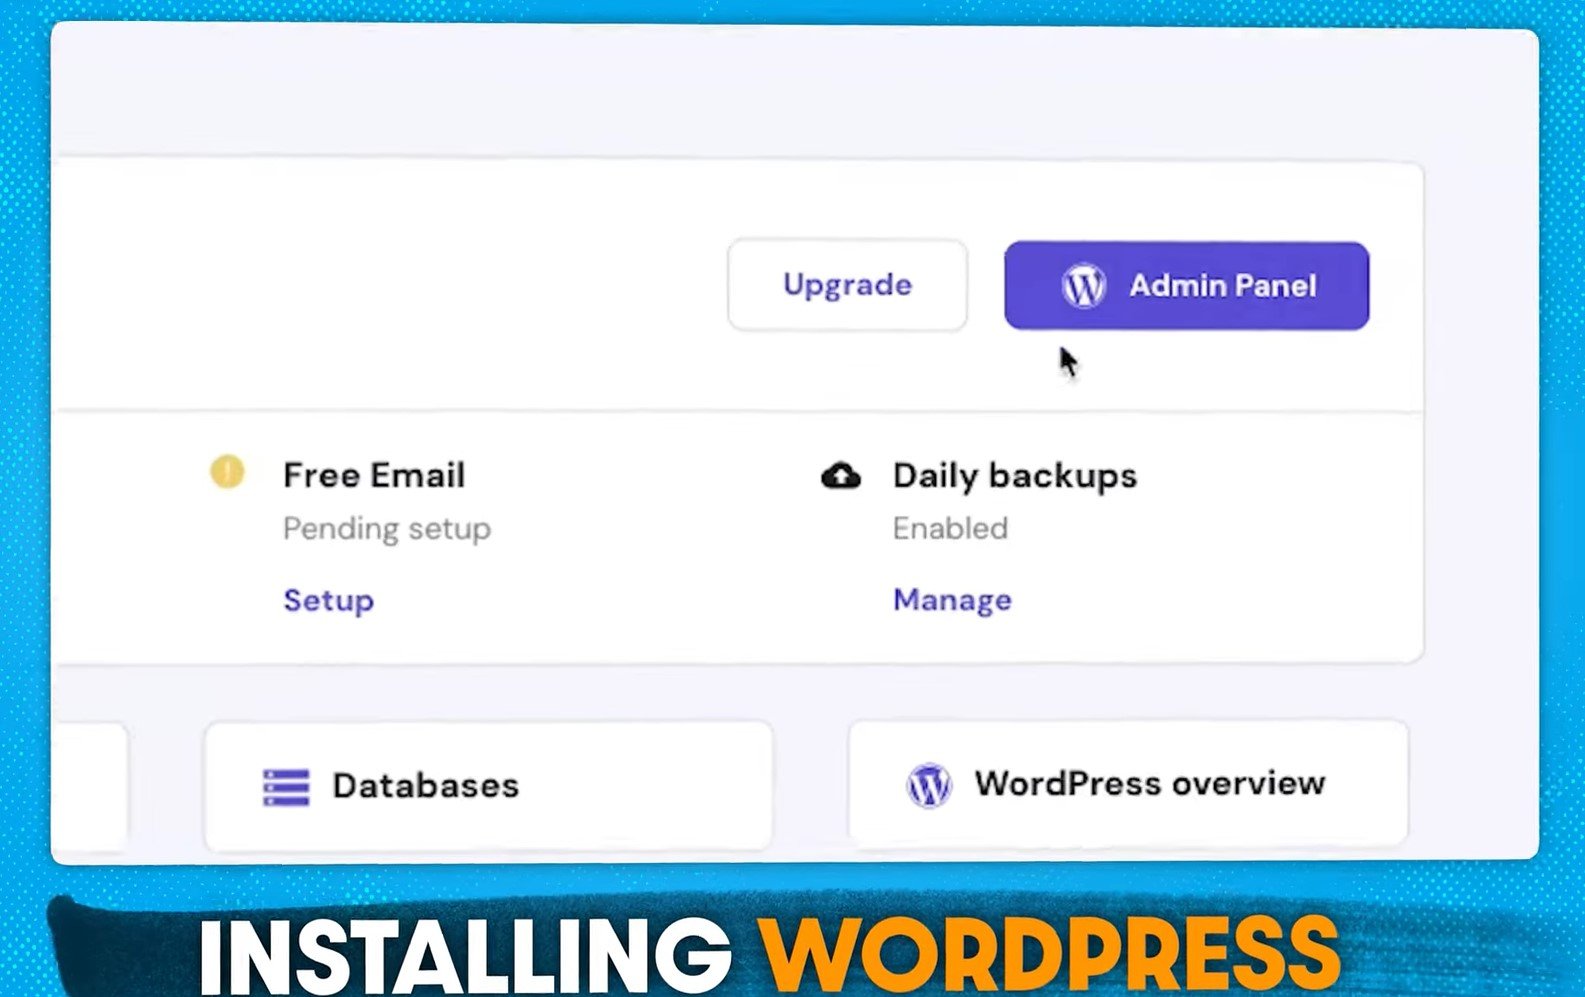
- Install WordPress: Most hosting providers offer a one-click WordPress installation process. Follow their instructions to install WordPress on your domain. You’ll typically need to create a username and password for your WordPress admin area.
- Access Your WordPress Dashboard: Once installed, you can access your WordPress admin area by going to
yourdomain.com/wp-admin. Log in with the credentials you created during installation.
Phase 2: Installing the Necessary Plugins
- Install Elementor:
- In your WordPress dashboard, go to Plugins > Add New.
- In the search bar, type “Elementor.”
- Find the “Elementor Website Builder” plugin and click Install Now.
- Once installed, click Activate.
- Install Elementor Pro (Optional but Recommended): Elementor Pro is a paid plugin that extends the functionality of the free version with more widgets, templates, and features (like the Theme Builder and WooCommerce Builder). If you have purchased Elementor Pro, follow these steps:
- Go to the Elementor website and download the Elementor Pro plugin file (usually a
.zipfile). - In your WordPress dashboard, go to Plugins > Add New > Upload Plugin.
- Click Choose File, select the Elementor Pro
.zipfile, and click Install Now. - Once installed, click Activate Plugin.
- You’ll likely be prompted to connect your Elementor Pro license key. Go to Elementor > License and enter your key.
- Go to the Elementor website and download the Elementor Pro plugin file (usually a
Phase 3: Choosing and Setting Up a Theme
While Elementor allows you to design your website visually, a theme provides the basic structure and styling for elements that Elementor doesn’t fully control (like the header, footer, and blog archive pages in the free version).
- Browse Themes: Go to Appearance > Themes in your WordPress dashboard. You can use the default WordPress themes or click Add New to browse thousands of free and premium themes.
- Choose a Compatible Theme: Look for themes that are known to work well with Elementor. Popular choices include:
- Hello Elementor (Lightweight and specifically designed for Elementor)
- Astra
- OceanWP
- GeneratePress
- Install and Activate a Theme: Hover over the theme you like and click Install, then Activate.
- Customize Your Theme (Basic Settings): Go to Appearance > Customize to adjust basic theme settings like site identity (logo, site title, tagline), colors, fonts, and header/footer options (depending on the theme). If you’re using Hello Elementor or plan to build your header and footer with Elementor Pro, you might not need to customize these extensively here.
Phase 4: Building Your Website with Elementor
Now, let’s start building pages using the Elementor editor.
- Create a New Page: Go to Pages > Add New. Give your page a title (e.g., “Homepage,” “About Us,” “Contact”).
- Edit with Elementor: Click the Edit with Elementor button. This will open the Elementor editor interface.
Understanding the Elementor Interface:
- Left Panel (Widgets): This panel contains various elements (widgets) you can drag and drop onto your page to build your content (e.g., Text Editor, Image, Button, Heading, Video, Icons). Elementor Pro adds many more advanced widgets.
- Canvas (Middle Area): This is where you’ll visually build and see your page as you add and edit elements.
- Top Bar: Contains options to save, preview, access page settings, history, and more.
- Bottom Bar: Offers responsive mode previews (desktop, tablet, mobile), the Navigator (for easy element selection), and access to Elementor settings.
Building Your Page (Example: Homepage):
- Add Sections: Start by creating sections to structure your page. Click the “+” icon in the canvas and choose a structure (e.g., a single column, two columns, etc.). You can adjust the width and layout of columns within a section.
- Drag and Drop Widgets: From the left panel, drag and drop widgets into the columns within your sections. For example:
- Heading: Drag a “Heading” widget for your main title.
- Text Editor: Drag a “Text Editor” widget for your introductory text.
- Image: Drag an “Image” widget to add a featured image.
- Button: Drag a “Button” widget for a call to action.
- Customize Widgets: Click on a widget to access its settings in the left panel. You can customize:
- Content: Text, images, links, button labels, etc.
- Style: Colors, typography, spacing, backgrounds, borders, etc.
- Advanced: Margins, padding, CSS IDs and classes, responsive settings, animations, etc.
- Use Templates (Optional): Elementor offers pre-designed templates for entire pages or sections. Click the folder icon (“Add Template”) in the canvas to browse and insert templates. You can then customize these templates to fit your needs. Elementor Pro offers a wider library of professional templates.
- Save Your Work: Click the green “Publish” button (if it’s a new page) or the “Update” button (if you’re editing an existing page) in the bottom-left corner to save your changes.
- Preview Your Page: Click the eye icon (“Preview Changes”) in the bottom-left corner to see how your page looks live.
Building Other Pages:
Repeat the process of creating new pages and editing them with Elementor for your “About Us,” “Contact,” “Services,” “Blog,” etc.
Phase 5: Setting Up the Header and Footer (Free Elementor)
In the free version of Elementor, you’ll typically rely on your theme’s header and footer. Customize these through Appearance > Customize.
Phase 6: Building the Header and Footer (Elementor Pro)
Elementor Pro’s Theme Builder allows you to visually design your header and footer:
- Go to Templates > Theme Builder.
- Click Add New in the Header or Footer section.
- Choose “Header” or “Footer” as the template type and give it a name.
- You’ll be taken to the Elementor editor. Use widgets like Site Logo, Navigation Menu, Search Form (for header), and Copyright, Social Icons, Menu (for footer) to design your elements.
- Set Display Conditions: After designing your header/footer, click the arrow next to the “Publish” button and select Display Conditions. Choose where you want your header/footer to appear (e.g., entire website).
Phase 7: Making Your Website Responsive
Ensure your website looks good on all devices:
- In the Elementor editor, click the responsive mode icon (computer, tablet, phone) in the bottom bar.
- Preview your design on tablet and mobile views.
- Make adjustments as needed. You can change font sizes, hide elements, adjust spacing, and more for specific devices.
Phase 8: Optimizing Your Website
- Speed Optimization: Use optimized images, consider a caching plugin (like WP Rocket or LiteSpeed Cache), and choose a fast hosting provider.
- SEO Optimization: Use SEO plugins (like Yoast SEO or Rank Math) to optimize your content with relevant keywords, meta descriptions, and more. Structure your content with headings and subheadings.
- Mobile-Friendliness: Ensure your entire website is responsive and provides a good user experience on mobile devices.
Phase 9: Going Live and Maintaining Your Website
- Review Everything: Before making your site public, thoroughly review all pages, links, and functionality.
- Launch Your Website: Once you’re satisfied, your website is live on your chosen domain.
- Regular Maintenance: Keep WordPress, your theme, and plugins updated. Regularly back up your website. Monitor performance and make necessary improvements.
What Might Be Different in 2025:
- WordPress Updates: WordPress will likely have new features and potentially a refined interface.
- Elementor Updates: Elementor will likely introduce new widgets, templates, and features, potentially leveraging more AI-powered tools for design assistance. The interface might also see minor improvements for better user experience.
- Plugin Ecosystem: New and updated plugins compatible with Elementor will continue to emerge, offering extended functionality.
However, the fundamental process of setting up WordPress, installing Elementor, choosing a theme, and visually building your website with drag-and-drop functionality will likely remain the core experience. Stay updated with the latest WordPress and Elementor documentation and tutorials as they evolve.